

Good morning! I hope everyone had a Happy Thanksgiving!
Today I am posting the sourdough recipe I have been working on this month. The previous sourdough recipe was posted and made in the bread machine. I know not everyone has a bread machine, and I wanted to post this alternative along with my workshop notes.
I had a lot of success with the following tips:
-It is hard to overwork sourdough. So I knead it in the stand mixer for 4 minutes on low and 4 minutes on med-high. This works great and saves me from kneading by hand.
-I put a pizza stone on one rack lower than the Dutch oven to bake the bread. Then the bottom doesn’t get nearly as dark brown-almost burned. I don’t put the stone under the Dutch Oven directly, but one rack lower.
Book Update:
Here is the book I’m currently reading: The Marshmallow Test by Walter Mischel. The book is all about the famous “test” that he states he never called a test. It’s just the term the author at the New York Times gave the very, very lengthy name of the study done at the Stanford pre-school back in 1972. Basically, another psychology book trying to find the holy grail of success. His focus is on self-control after noticing those kids that had self-control in their pre-school “test” correlated with better life outcomes. #1 I learned that he did NOT use marshmallows. The child could choose the treat. #2 The researcher illustrated to the child that they would come back by testing the bell. When the child rang the bell, then the researcher came back even at the beginning. Why is this important? One of the main counterarguments to Mischel’s research states that untrusting children or children from traumatic experiences would not believe the person would come back and therefore alter the results.
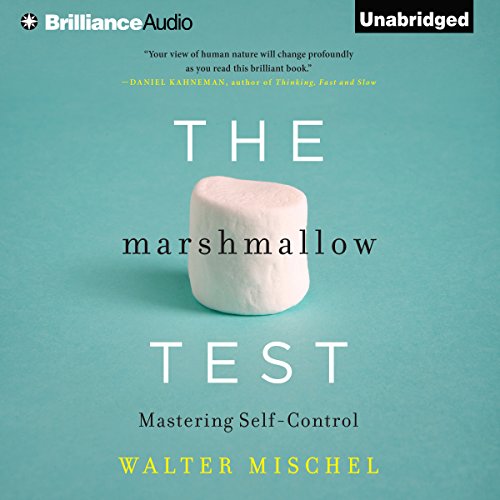
(Photo: Amazon)
Recipe:
After several loaves and lots of Youtube videos explaining how to make bread dough, I arrived at one that does not my entire life away. The chocolate cherry sourdough loaf is really a labor of love that took me all day to make.

Here is a link to my SOURDOUGH WORKSHOP.
It includes the recipes I explained, how to keep your sourdough starter, and the basic method listed here for making a sourdough loaf. I have seen different ratios of water to flour all over the place and this is the one I am happy with. I usually start the sourdough on Saturday or Sunday and make it on Monday or Tuesday. Since it is soup season, I’ve been offering workshops. The folks bring a jar, and I fill it with a part of my starter. They get instructions on how to feed it and put it in the fridge until it is ready to use. Then, I show how to make a sourdough loaf (that I started 2 days before and pull out of the fridge) as well as how to make pancake batter. This way everyone gets to try the sourdough loaf and the sourdough pancakes all fresh.


- 100 grams bubbly and active sourdough starter (1/2 cups)
- 375 grams warm water (1 and ½ cups)
- 600 grams bread flour (4 and ½ cups)
- 12 grams salt (2 and ½ teaspoons)
- Mix everything together in a mixer or by hand. Allow to sit 30-60 minutes covered.
- Mix with a bread hook in mixer for 4 minutes on LOW and then 4 minutes on MED-HIGH.
- Move dough to a greased bowl and rest 30 minutes.
- Now use a strength-building fold. Basically take one side, pull up and over. Then turn 90 degrees, and do this again. Until you do this to all 4 sides. Complete 4 of these over 2 hours. I forget sometimes. It's okay.
- Allow dough to rise in a warm place for 3-10 hours. Until double in size.
- Shape the dough into a ball. Pinch all the dough on one side, so that the other side is smooth. I keep it seam-side up in my greased bowl. Put it in the fridge covered for 1-48 hours. This loaf shown here in the blog post was 24 hours of proofing.
- Preheat oven to 450 degrees. Put a pizza stone or steel stone on the lowest rack of the oven if you have it. This keeps the bottom from getting too dark. Put your Dutch Oven in the oven as well to get hot.
- Put the rack you will bake on the next rack up. So it should be in the lower half.
- Place parchment paper in a Dutch oven. Flip the dough over so it lands seam-side down in the Dutch oven.
- Make ½" slashes in the dough - one dough in the middle or several small ones or both.
- Put lid on the Dutch oven. Bake 30 minutes.
- Remove lid CAREFULLY.
- Bake another 15-20 minutes. Bread should be golden brown.
- Allow to cool and cut.


