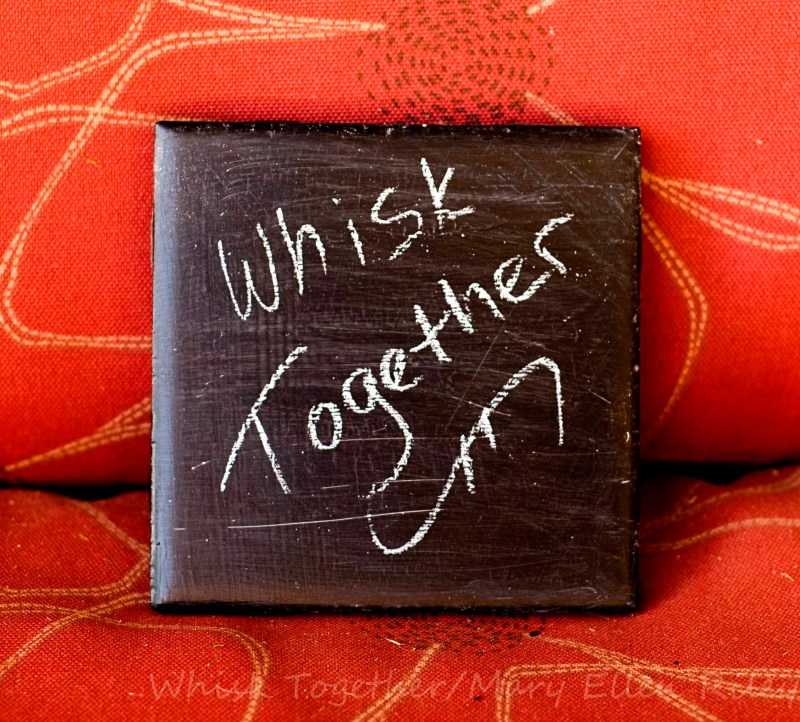
Okay, so I finally joined the chalkboard bandwagon. I like how these are so cheap and functional. We purchased the white 4×4″ tiles from Lowe’s Hardware store for 2 cents each on clearance. (Except for the first batch I purchased in August – those were 15 cents each. Exact same thing.) Though, they do have black ones for 15 cents each which would work better if the price is the same as the white at your store.
Why we liked these:
1. Functional: the rings don’t form on the wood table
2. Label function: You can write down the food or condiment right there on the coaster. Or write down who is drinking which cup

3. Dinner table: The kids can scribble while they wait for dinner to be on the table
4. Price: Many coasters I found were around $5-$10 per set. The chalkboard paint cost $6.99 and the tiles 2 cents (or 15 cents) each.
How to Make Your Own:
You will need:
-craft form brush (about 1″ size)
-4×4″ tile
-chalkboard paint
-4 felt pads (1″ size) or scrap of felt the same size as the tile and hot glue
-newspaper or some kind of scrap underneath the workspace
1. Take the foam brush and dip it into the paint. Wipe off the excess. Paint one coat of paint over the tiles.
2. Allow to dry for at least 1-2 hours. Repeat until you have adequate coverage. For me, this took 3 coats.
3. For the final coat, I allowed them to dry overnight or at least 6 hours.

4. Add felt pads to the bottom. Or, you could hot glue some felt. But, I had the felt pads already and I like the look.

5. “Prime” the surface by having your kid scribble all over the tile. Wipe clean with a paper towel.
6. You are done!
-Be sure not to leave milk and such on the painted coaster. This seemed to remove the paint. Water didn’t seem to matter. I guess I could cover it with clear contact paper… which would give me a pretty black coaster with whatever saying I wanted underneath it.


